Repotting an Anthurium without stress: 3 tips
Spring is the perfect time to repot your Anthurium plant. Thanks to the extra light and warmth, you’ll soon see new growth emerging. But how can you tell when your plant is ready, and what’s the best way to go about it? In this article, we share three tips for repotting an Anthurium without stress.
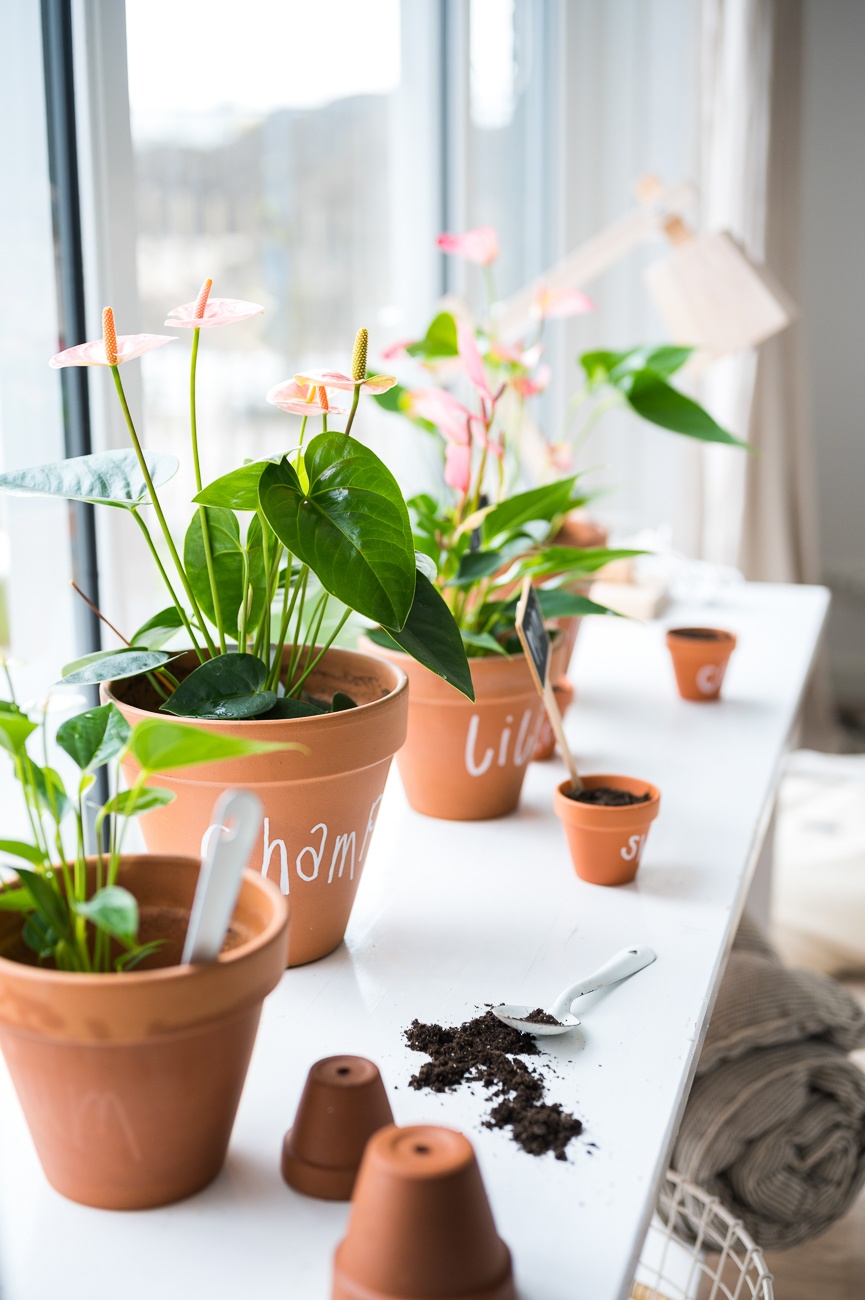
Repotting an Anthurium without stress
When to repot an Anthurium plant?
There are two clear signs that it’s time to repot your Anthurium:
- The roots: in general, a plant grows best when there is at least 5 cm of space around the roots. This gives the roots room to breathe, allowing the plant to grow more easily.
- The soil: if the soil is drying out more and more quickly, it usually means the roots have become too large in proportion to the amount of soil. As a result, the plant is less able to absorb enough water and nutrients.
Choose the right size pot
Select a pot that is larger than the old one, but certainly not too large. A pot that is too big can cause excess water to collect at the bottom, where the plant’s relatively short roots cannot yet reach it. This leaves the soil wet for too long – something Anthuriums do not tolerate well.
Ideally, choose a pot that is about 20% larger than the previous one. Also make sure the pot has drainage holes at the bottom so excess water can escape. Without drainage holes, the soil will still remain too wet.
Use clay pebbles and Anthurium potting compost
Start by adding a layer of clay pebbles to the bottom of the pot, to prevent the roots from sitting in water. Then add a small layer of Anthurium potting compost, which is lighter and more airy than standard compost. Next, remove the Anthurium from its old pot and place it into the new one. Fill the pot with additional compost so that the plant sits firmly in place. That way, your plant will be all set for the months ahead!
Also read: Anthurium Care in Spring – 5 Tips for a Healthy Plant