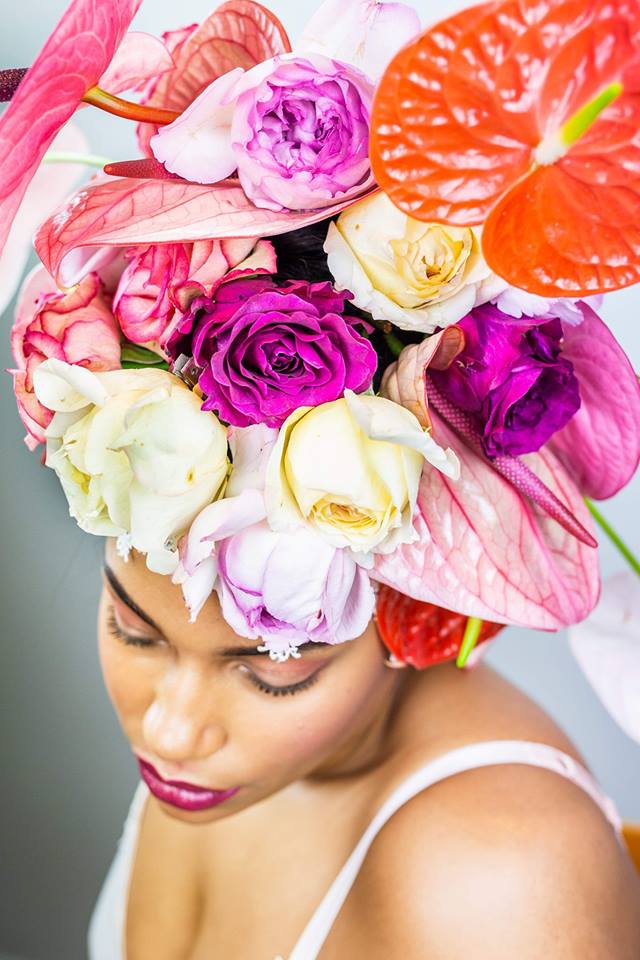
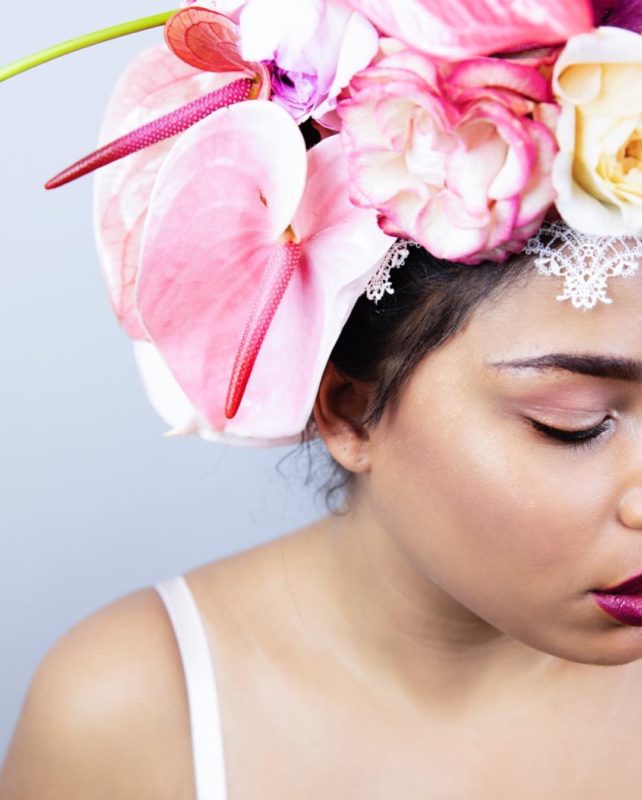
DIY: Make a flower crown
You’re seeing them more often these days: flower crowns. They make a beautiful hair accessory for a festival or summer party but are also a nice little craft activity during a birthday party or baby shower. Wear one and feel like summer is really here! Would you like to make your own flower crown to wear? This article tells you how. Have fun!
What you’ll need
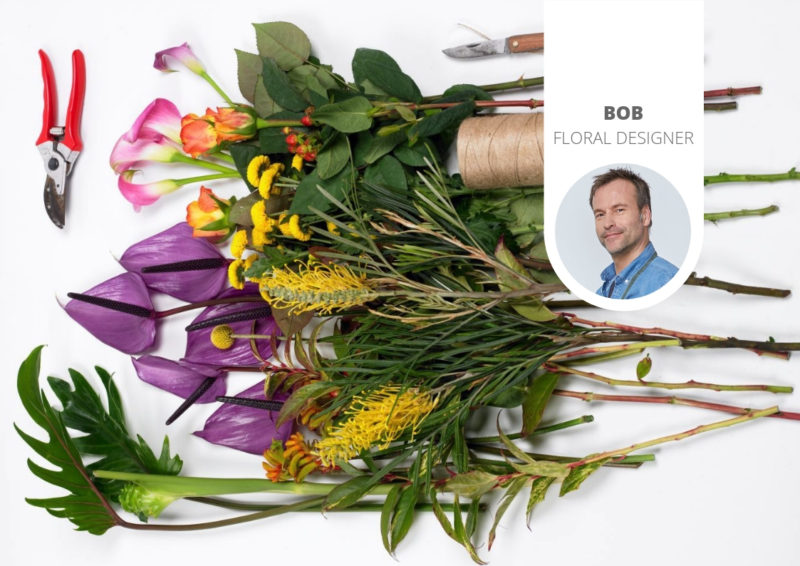
This is what you’ll need to make a flower crown:
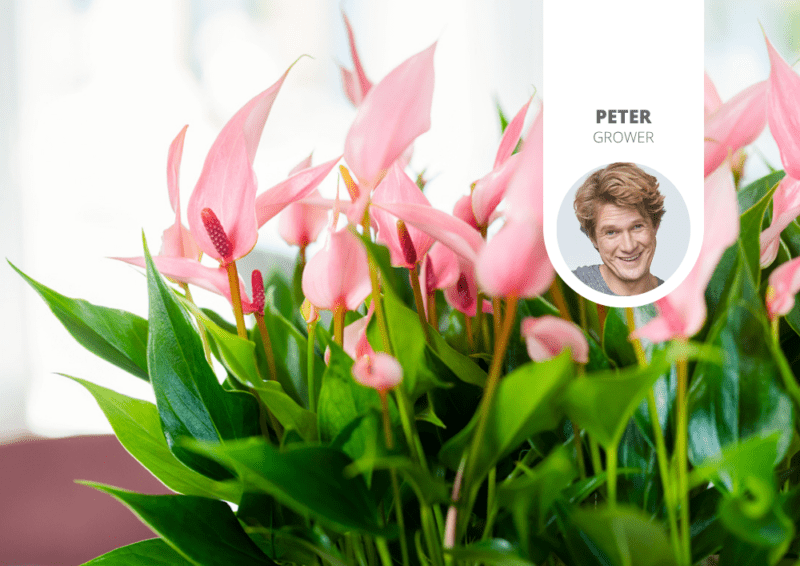
– Flowers: preferably a number of different kinds such as cut Anthuriums and roses.
– Cut foliage
– Florist wire
– Floral tape
Before you choose your flowers, consider where you want to wear your flower crown so that it will be appropriate for the event. You might also want to keep to a certain style or theme when selecting the flowers. You could create a very summery flower crown made with flowers in different colours or, the complete opposite, a hair accessory made in various tints of just one colour.
Also read: Make your own underwater flower arrangements
Making a flower crown
Bend the floral wire into a circle, put it on your head to check the size, and snip off the extra wire. To create the foundation for your flower crown, use floral tape to establish its shape and hold it together. Use some more floral tape to attach the cut foliage, one by one. Once the headpiece is entirely covered, you can start attaching the flowers, starting with the smallest and ending with the largest. Use tape to attach the smaller flowers but use floral wire for the larger ones to make sure that they stay put.
And remember: cut flowers remain fresh for only a day or two. After that, you will have to replace them. If you’re making a flower crown for a special occasion, do so the day before, or, better yet, on the same day.
Need more inspiration? Take a look at this Pinterest board!