Flower arranging 2.0: How to create a beautiful bouquet
Flower arranging might seem a little tedious or old-fashioned, but it doesn’t have to be. Actually, it can be a delightful opportunity for some ‘me time’. Besides this, your flowers will both look prettier and last longer. Just take a little time for it and you’ll discover how pleasurable it is to do! Here are some tips.
Care
First of all, it’s important to care for your flowers properly. Otherwise, all your flower-arranging efforts will have been for nothing. This article tells you the best way to keep them looking fine for up to three weeks!
Flower arranging
Then it’s time for the flower arranging itself. You can do this in various ways:
Traditional flower arranging
Remove the flowers from their packaging material and sort all the flowers by variety. The next step is to ‘build’ your bouquet. Start with the most eye-catching flowers and then follow up with the somewhat smaller ones. Finish with the cut foliage, but don’t use too much of this. Otherwise, you could be hiding the flowers from view – that’s not what you want!

By arranging your flowers this way – and adding your own personal touch – you create an artistic bouquet. You could also do this with a somewhat less expensive bouquet that you’d buy at a petrol station – and give it a luxurious look!
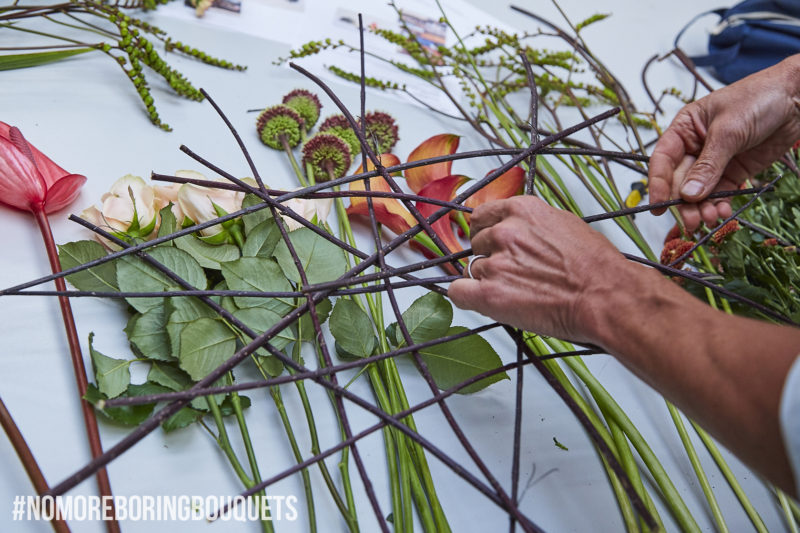
Flower arranging using a grid
Another way to arrange flowers is to make a little grid for them on the top of the vase. This will keep the flowers standing up nice and straight and you’ll need fewer of them to create a full look. This also allows you to place your flowers strategically so that they don’t fall over or sink from view.
Start by adhering the ends of pieces of adhesive tape to the top edges of the vase in a grid pattern. Then insert your flowers into the ‘holes’. Start with the cut foliage to outline the shape of your bouquet. Then insert the medium-sized flower and finish with the large ‘statement’ flowers – the ones you want to stand out! Finally, look at the bouquet from a distance to see if there are any empty spots. Experiment a little and make changes where necessary.
Also read: A colourful spring bouquet in a few steps.